Opis
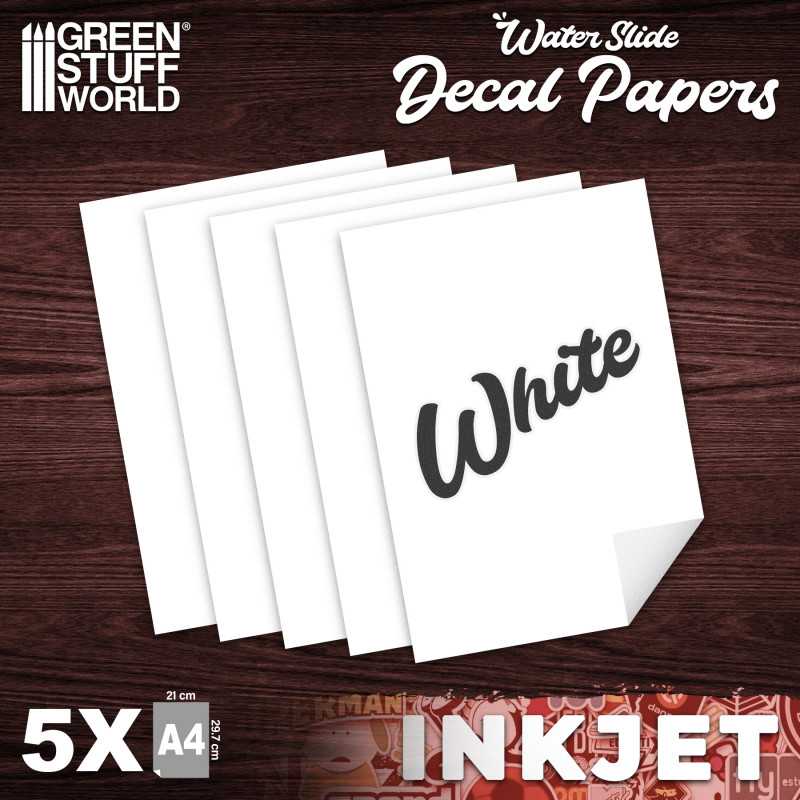
Inkjet Waterslide Decal Paper
Waterslide decals are a type of transfer paper that allows you to print
designs or images onto a special paper that can be transferred onto a surface,
such as ceramic, glass, resin, or plastic. These decals are used for customizing
various objects, including wargame miniatures, model cars, mugs, and other
items.
When it comes to printing waterslide decals with inkjet printers, it’s
important to use special inkjet waterslide decal paper, which is different from
the paper used for laser printers. This paper is typically coated with a layer
of adhesive and a layer of release paper that allows the decal to be easily
removed from the backing paper and applied to the surface.
Additionally, if you want your waterslide decals to have any sort of white
color, you will need to use white paper. This type of paper will have a white
backing layer that will show through any areas of your design that are not
printed with ink. Since standard inkjet printers are not capable of printing
white ink, the white color of the design needs to come from the paper
itself.
When printing decals, it’s important to make sure that your printer is set to
use the correct settings for the type of paper you are using. For example, you
may need to adjust the printer’s settings for glossy paper or select a specific
paper type in your printer’s software. It’s also important to ensure that your
designs are printed onto the correct side of the paper, as the adhesive layer
will be on the opposite side.
Once you have printed your designs onto the waterslide decal paper, you can
cut out the decals and apply them to your desired surface using water. The
process of applying the decal can vary slightly depending on the brand and type
of paper you are using, so it’s important to follow the instructions carefully.
Generally, you will need to soak the decal in water until the backing paper
starts to loosen, and then carefully slide the decal onto the surface and press
it down to remove any bubbles or wrinkles. Finally, allow the decal to dry and
set before handling or using the object.
In some cases, you may want to use a decal softener and fixer to improve and
protect the finish of the decal on uneven or rough surfaces. Decal softener is
designed to soften the decal film, making it more pliable and allowing it to
conform to irregular surfaces. A Decal fixer is used to seal and protect the
decal once it’s applied, preventing it from lifting or peeling over time.
Overall, waterslide decals for inkjet printers can be a fun and creative way
to customize your belongings or create unique gifts. With the right materials
and techniques, you can create high-quality decals that will last for years to
come.
Sheets: 5 per package – Color White
Size: 210 x 270mm (A4)
Decal thickness: 13~14microns
PREPARATION INSTRUCTIONS
To ensure proper printing, it’s important to choose the appropriate type of
paper for your printer – either inkjet or laser paper. If using printable paper
with a tissue-type sheet protector, remove it before printing directly onto the
glossy side of the decal paper. For inkjet printers, it’s recommended to select
the „Transparency Plastic Film” setting, if available, in the printer
software.
To protect the printed image on the decal paper from smearing, washing off,
cracking, or chipping during the application, it’s crucial to apply a few thin
and thorough coats of non-acrylic varnish or fixative spray immediately after
printing. This will seal the printed image and ensure its durability.
APPLICATION INSTRUCTIONS
Using a brand-new blade in your cutter, trim the decal as
closely as possible to the outer edge of the image to achieve optimal
results.
With tweezers, carefully lift the decal and
submerge it in water for approximately 20 seconds. Using warm water may aid in
this step.
Using a paintbrush, delicately slide the decal
off the sheet and onto the model. And that’s all there is to it!
APPLICATION TIPS
– After soaking the decal, apply a small amount of GSW Decal Fixer to the
surface of the model where the decal will be placed. This will protect the
underlying paint and create a smooth surface, reducing the likelihood of
silvering. Use a paintbrush to transfer the decal onto the model, and if
necessary, add more GSW Decal Fixer or water to help position it correctly.
– If the surface where the flat decal is being applied is curved, such as a
shoulder pad, wrinkles may appear. To prevent this, apply GSW Decal Softener
once the decal is in place. Repeat this step 2-3 times until the wrinkles have
been removed. Use a cotton swab to remove any excess liquid caught between the
decal and the surface, rolling it gently over the decal to avoid lifting it. A
paper towel can also be used to press down on the decal in a rolling motion to
remove excess liquids. By using GSW Decal Softener, the need for relief cuts to
remove wrinkles can be eliminated.
– Finally, apply GSW Decal Fixer once more to the decal and the surface of
the model to unify the surface. If desired, apply a coat of matte or gloss
varnish to remove or add a glossy finish.